DIY Tutorial: Barrette
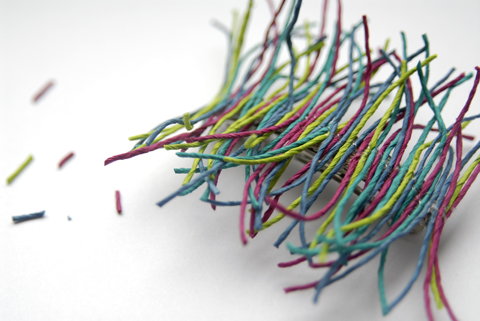
This easy-to-make barrette takes advantage of one of Paper Twine’s outstanding characteristics: it’s stiffness that is especially evident when the Paper Twine is cut in short pieces. Instead of the bright colors I used you can of course use more subtle hues as well – think about the person who will wear the piece and the hail color when choosing the Paper Twines you want to use.
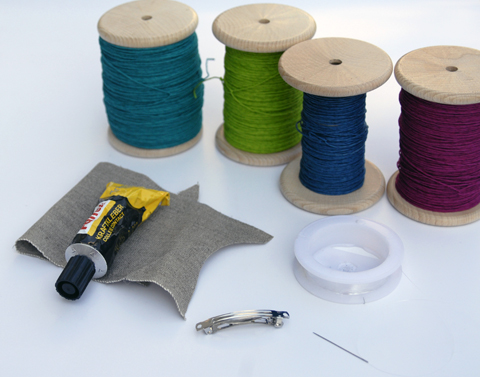
Supplies and Tools:
– an empty barrette from you local craft store – I used a 1.6 in (4cm) long one
– Paper Twine: about 4 x 20 in (50cm) in different colors
– a small piece of a heavy fabric to stitch on
– transparent sewing thread and a needle that goes with it
– some glue
– scissors
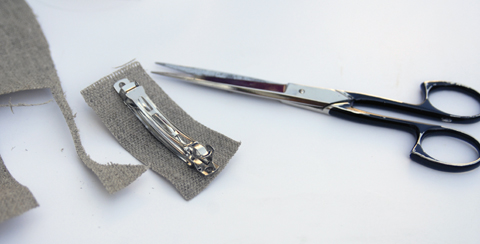
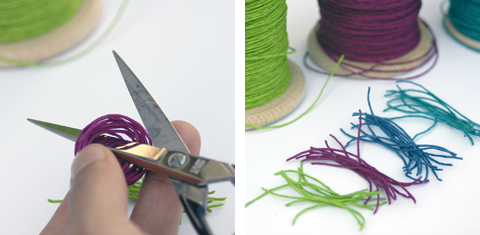
First prepare the piece of fabric you’ll sew the pieces of Paper Twine onto. Make it slightly longer and about three times as wide as the “empty” barrette. You’ll trim the fabric later on to its final size. Also prepare your pieces of Paper Twine that will be sewn onto the fabric: a total of about 40 pieces (2 in (5cm) long) in your chosen colors. You can cut them to the final lenght after the piece is finished.
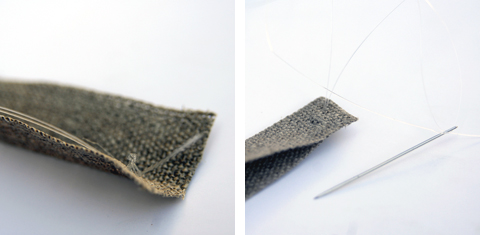
The piece of fabric you just cut is folded in half to make it stiffer – this will help a lot when it’s fixed onto the barrette in the end. Make a big knot into your sewing thread because transparent thread tends to be rather slippery – you’ll need about 30 in (75cm) to finish your piece. As you can see I doubled the sewing thread (see next picture). The rather knot is hidden in between the two layers of fabric.
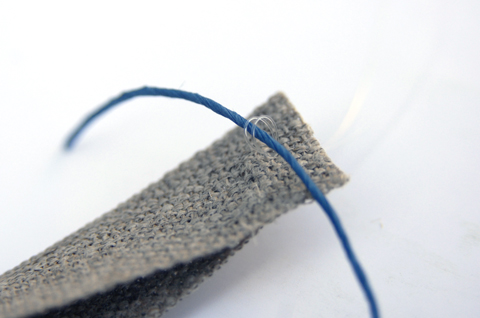
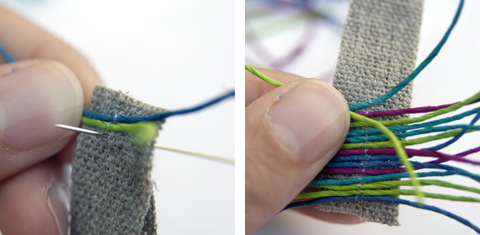
Start stitching. Once you’ve secured the first piece of Paper Twine the needle comes out again about a bit before this first piece of Paper Twine and you stitch backwards over the second piece of Paper Twine! Remember to always stitch backwards over the Paper Twines – like this it’s easier to avoid. If a gap nevertheless appears (like in the third picture above) come out with the needle in between the two Paper Twines and fill the gap with another piece of Paper Twine.
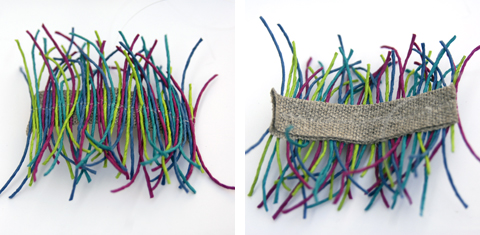
After a little bit of stitching your piece should look like this. Now it’s time to trim the fabric …
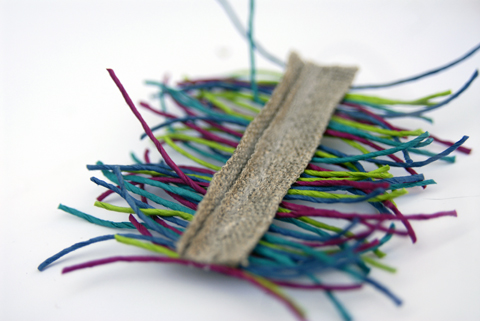
…. preferable like this! What you do is you cut the top layer of fabric very very close to the sewn line, the bottom layer of fabric to about 0.2in (0,5cm). The bottom layer of fabric is folded toward the middle and secured with some glue. Now is also a good time to trim the piece of fabric at the end you just stopped sewing at – cut shortly after the last piece of Paper Twine sewn onto it. A little glue will prevent it from starting to fray.
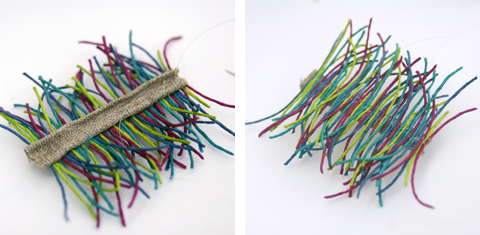
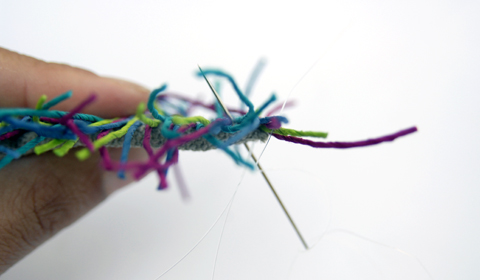
Now we can start to stitch “back” – the idea is to fix the other side of the fabric that has not been glued to the middle during this process. Fold this other part of the unstitched fabric towards the middle as well and fix it there with the stitched you make now back towards the “beginning”. I don’t double-stitch over all the pieces of Paper Twine that are already in place – only over about every tenth or so. If you still have gaps between the pieces of Paper Twine then this is the time to fill them up – come up with the needle in the gap, add a piece of Paper Twine and stitch over it…
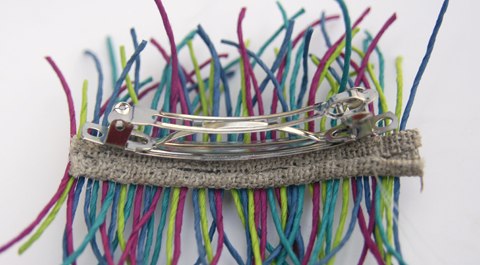
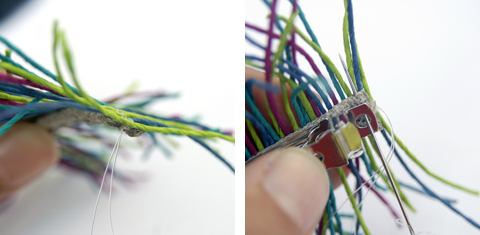
Once you’re back at where you started stitching in the first place it’s time to trim that side of the fabric as well. Instead of simply cutting the fabric you can also fold it onto the backside and fix it with some stitches. Use some glue to prevent fraying and leave the glue to dry before continuing if necessary. You can also add a last piece of Paper Twine to prevent too much of the fabric to show in the finished pieces.
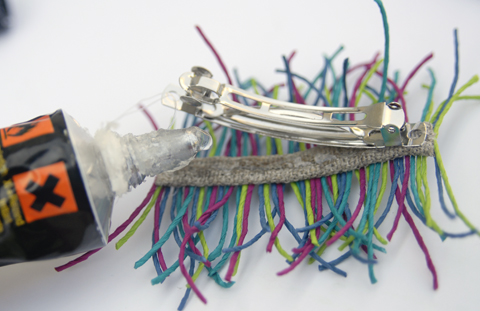
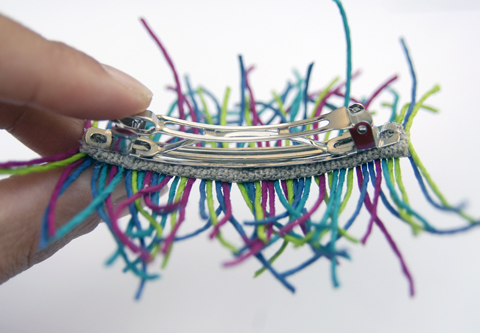
The metal barrette piece is sewn on (on both sides) and also glued onto the fabric for further stability. Leave to dry depending on the glue you used.
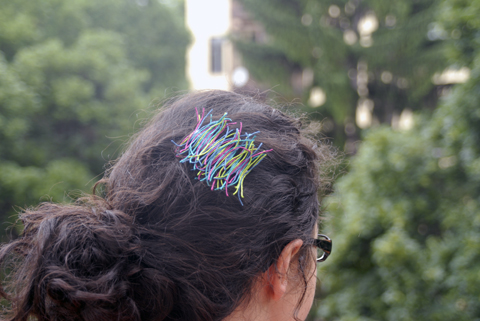
The last step is to cut the Paper Twine pieces to your preferred length. Twist them slightly between your fingers to make them curl upwards a bit. And finally: enjoy wearing!
I hope the tutorial is clear – I did my best to take pictures all of the steps and to explain all the in-betweens. Drop me line if you have any further question or comments – and as always I love to see what you’re coming up with as well so pictures in the mailbox are always a reason for some jumping-of-joy!

I love this- great summer project – I am definitely making one!
Definitely a summer project (though if you changd colors it could become a cute Christmas barrette as well!) – don’t hesitate to contact me if you have any more questions about it! And lots of fun making it
Super fun and colorful tutorial!
Wicked tutorial, they look so cool! And great idea too! 🙂
@Sabrine and @Lisa – thanks a lot! Doing our best to make even more tutorials in the future!
Loved the idea for a younger crown of curios minds.