DIY: Paper Twine Circles – Holiday & Party Decoration Tutorial
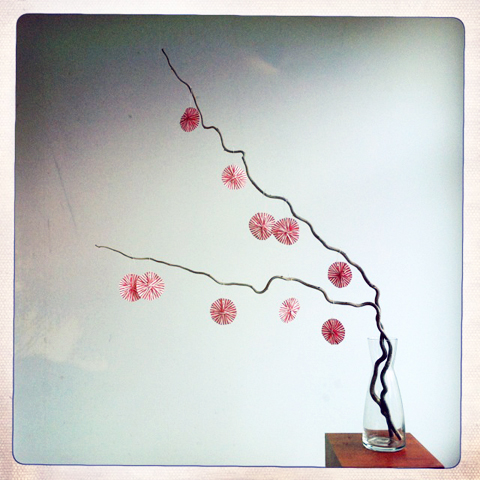
It’s getting festive in the studio. We can’t put up a whole tree because there is no space for it but we decorated two corkscrew-hazelnut tree branches with paper circles made of our red-white striped paper cord and now we’re feeling ready for the holidays. The good news is that these circles are really easy and fast to make looking beautiful in front of windows and strung up as garlands as well. And we do not even have to redecorate for the New Year’s party because the red and white goes well with about everything.
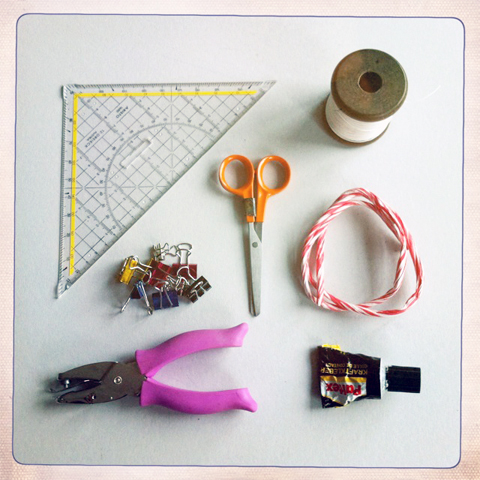
SUPPLIES and TOOLS:
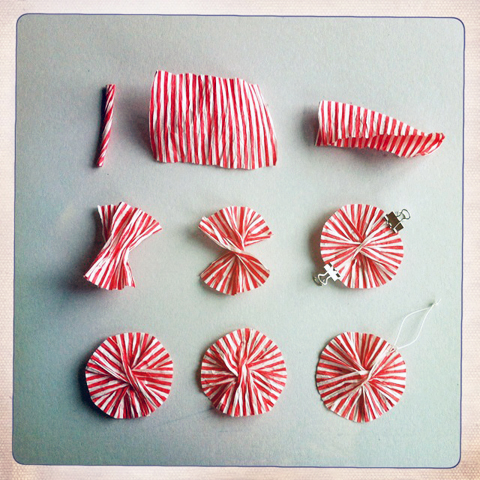
For one circle cut one piece of paper cord (2.6 in / 6,5cm long) and untwist completly. Flatten the piece of crinkly paper you get and fold in half to determine the middle. Fold the paper into small folds/crinkles in the middle (looks like a bow). Take the two sides into your hands and twist by 180° (this is step 5).
Put a little bit of glue onto the edges of the “bow” and put edges together so that a full circle is formed. Bulldog/Paper clips are handy to keep the circle closed while the glue is drying.
Once the glue is dry cut any small corners or edges to make the circle round and punch a small hole into it. Thread a piece of medium white paper twine through the hole, make one tiny knot and la-voilà, your first striped paper circle is finished!
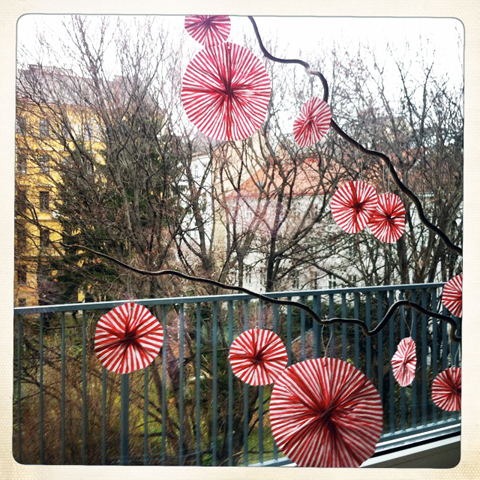
Obviously there is no snow in Vienna yet but the last days of snow-free autumn are supposed to be over soon and the look out of our window will change. We’re holiday-ready and look forward to all that is to come.
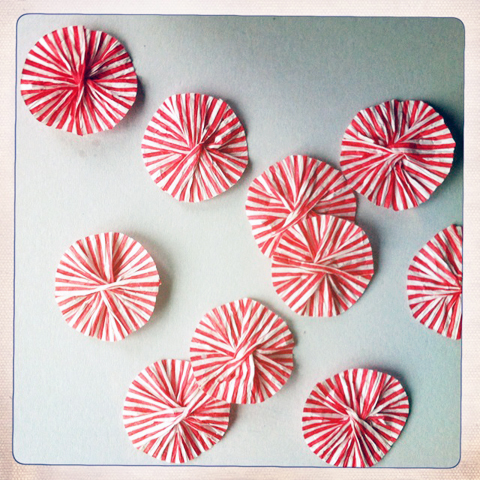
Circle-making is quite addictive. So it might be good to know that with one hank of the red-white striped paper cord you can make a stunning 384 small circles!

Absolutely charming!